Torsion Spring Design
Torsion Spring Design
Definition of a Torsion Spring
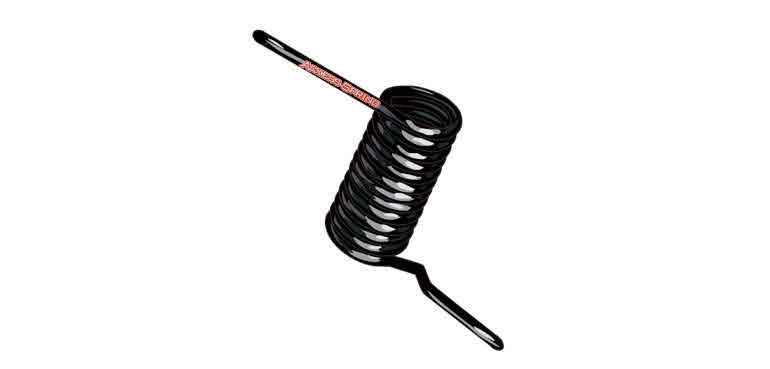
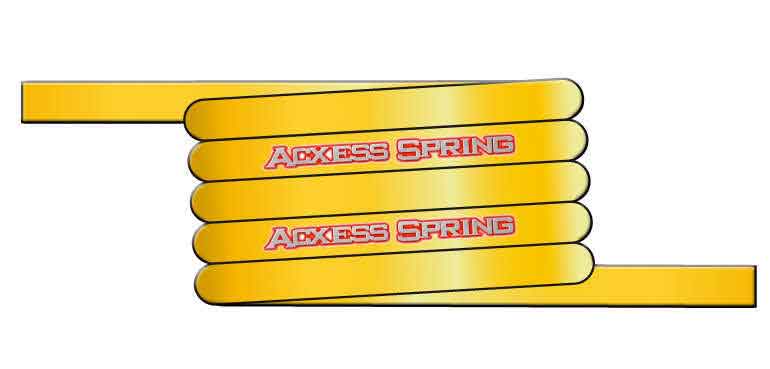
Torsion springs are an example of a helical spring made to generate rotational and torsional forces. Torsion springs come in all shapes in sizes such as small torsion springs, stock torsional springs, large torsion springs, heavy duty torsion springs, double torsion springs and extended length torsion springs.
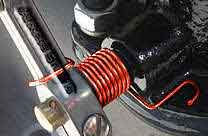
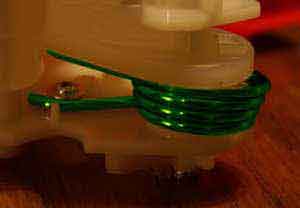
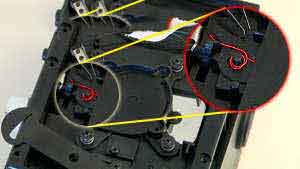
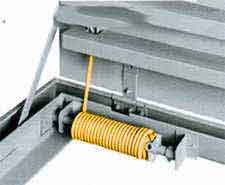
A door hinge is a prime example of a torsion spring because it always causes the door to return to its original position. Every time you saw a bad guy bust through the saloon doors in an old western movie, it was the torsion spring that created the dramatic effect of those doors bouncing back behind him.
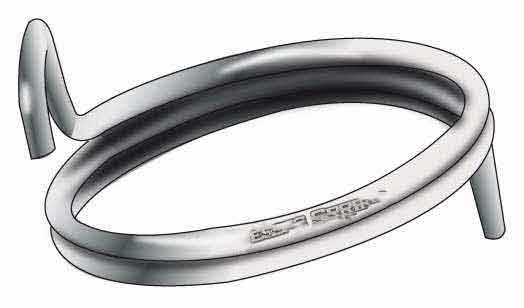

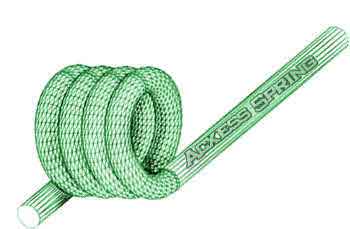
Applications:
There are many applications to which torsion spring can be attributed. The applications range from Levers, Fulcrums, Switches, Hinges, and grips. Wherever torsional or rotational force is needed, torsion springs can be applied.
Torsion springs can be used for gripping around a shaft.
Example:
Ever bench pressed free weights at the gym? Chances are you used a torsion spring to grip around the weight bar to keep the dumbbells from falling off the bar. Torsion springs can also be used as hose clamps. Open the hood of your vehicle and you will notice small round wire clamps that grip your rubber hoses. Those clamps are torsion springs in disguise. For a spring maker to create a hose clamp he has to make it the way a spring maker normally makes a torsion spring. Its that simple. If you are looking to determine the binding in spiral torsion springs you have to remember that as a torsion spring turns, the legs will increase the free length of the spring. Some people will forget to allot for that extra length and they will reach the binding height and the torsion spring will no longer fit in the application.

Another example:
The Heli-Coil is a torsion spring made of diamond shaped wire that helps repair worn out and stripped threads in a hole. The logic is, as you wind a torsion spring clock-wise to the right, the torsion spring will decrease its inner diameter and outer diameter thus allowing the spring to enter into your worn out hole or bore. Once the spring or Heli-Coil is set to it's specific depth you release the spring and it will return to its original ID and OD giving you a tremendous amount of grip and biting force on the inside diameter of the hole or bore. Just think of how much force a threaded hole needs to have so it can keep the screws tight. That's a lot of force.

Torsion spring rate formulas
Rt = Ed^4 / 10.8 DN S = 10.2 M / d^3 (correct for D/d)Explanation of Symbols:
- d = wire size (inches)
- D = Mean Diameter (inches)
- N = Number of active coils
- Rt = Rate
- S = Stress (lbs / square in)
- P = Load (lbs)
- M = Moment (inch-lbs)
- D / d = Index correction
Modulus of Elasticity "E" for common spring wires.
- PSI x 10^6
- Music Wire = 30 psi
- Stainless Steel = 28 psi
- Chrome Vanadium = 30 psi
- Chrome Silicon = 30 psi
- Phosphor Bronze = 15 psi
Modulus in Torsion "G" for common spring wires
- PSI x 106
- Music Wire 11.5 psi x 10^6
- Stainless Steel 10 psi x 10^6
- Chrome Vanadium 11.5 psi x 10^6
- Chrome Silicon 11.5 psi x 10^6
- Phosphor Bronze 6.25 psi x 10^6
The Spring Force Chart
Use this chart to adjust your spring force accordingly
| More Force (MF) | Less Force (LF) |
| Smaller OD = MF | Larger OD = LF |
| Less Coils = MF | More Coils = LF |
| Thicker Wire = MF | Thinner Wire = LF |
| More Travel = MF | Less Travel = LF |
Key Parameters:
To measure a torsion spring you will need to know how to measure the wire diameter, number of coils, body length, pitch, leg length, free angle, and whether it is a left or right hand torsion spring. Please see the diagrams below and watch the how to measure torsion springs video for further instruction on measuring torsion spring.
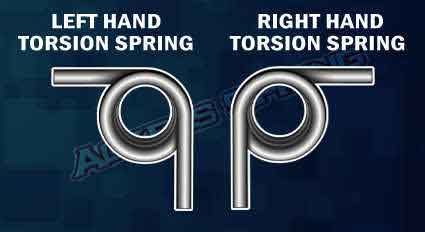
Determine whether the spring is left hand or right hand.
Hold your torsion spring as if you were looking down the barrel of a gun. Now look at the back leg, which is the leg further away from you. Take the back leg and put it at 12 o'clock ( on the top part of the coil) "See figure below". If the leg faces to the right it is a R/H spring. If the leg faces to the left it is L/H spring. The logic here is simple just make sure you are holding the spring like the above example and you will be fine.
Torsion Spring Index:
Here is where my spring index plays a huge part in Torsion Spring Stress. To figure out spring index use the formula
OD (outer diameter) - 1 WD (wire diameter) = MD (mean diameter). MD divided by WD = Spring index.Example: .500 OD - .050 WD = .450 MD divided by .050 WD = 9 to 1 index (this is a good index). It is not recommended to go below a 5 to 1 index for a good torsion spring design. It is important to be careful on your index because the smaller you go on index the tighter your spring displacement is. Thus adding more stress on your design. Stress is detrimental on your torsion spring because stress and fatigue will cause presetting of your torsion spring. Example: you have a spring that measures .500 OD with a .100 WD, .500 OD - .100 WD = .400 MD divided by .100 WD= 4 to1 index or 4 wire size to1 wire size. A 4 to1 index is low index. However, a 4 to 1 index will work if you need to generate a strong amount of force with a small amount of travel. But in the case were you need the same amount of force along with a good amount of travel or deflection (say 90 degrees to 360 degrees) a 4 to 1 index will not be sufficient. In order to correct this problem your index will need to be opened. If the design permits you , you should make your torsion spring OD bigger. 8 to 1 index is a better index number to achieve a good amount of force along a greater amount of travel with less stress.
Torsion Spring Leg Configurations:
Torsion springs have legs which transmit force to your product. From a economic manufacturing point of view, you as a designer/engineer should avoid having many complex leg bends so your end torsion spring design will be economical as well as functional. Many designers/engineers never take this into account, thus ending up with complicated leg configurations. Please do not limit yourself either, you should consult the advice of a spring engineer to asses your design criteria. In many cases the prototype or product is finished then the engineer decides to figure out the torsion spring design as an after thought. A good torsion spring design needs to be done while the product or prototype is being developed before molds and tooling are made. I have seen this done thousands of times and the engineers torsion spring designs are very complex and can not be manufactured. This is why it is so crucial to consult a professional spring maker before attempting the design on your own because he or she may see something that is not visual to an untrained eye. They can point out great ways to assemble springs to your products with very few bends. Remember a great spring is all in the design, encompassing all the above factors we take into account to get there. Sometimes less is more.
Torsion springs can have offset bends coming right off the body giving you your choice of different radiuses that can be put on your legs. Example: 90 degree, 45 degree, 25 degree, just about any kind of angle can be manufactured into your torsion spring. Your bend angles can be on different planes as well as different radiuses. The legs on a torsion spring can have hooks, loops, u-turns, and even additional springs can be made from a leg length such as a smaller torsion spring off a leg of the bigger torsion spring.
General Step By Step For Designing A Torsion Spring
- 1. Know where your spring is going. Does it need to fit over a shaft, thus the inner diameter is a fixed measurement. Does it need to go in a hole, thus the outer diameter is a fixed measurement. Does it need to fit into a space that is a certain depth or width, thus the spring would have a maximum body length.
- 2. What is the spring's environment. This is necessary because certain materials are best for certain designs. For example stainless steel is good for salt water or medical applications and Inconel is best for springs being used at very high temperatures.
- 3. You need to determine the purpose of the torsion spring. Is is going to be sustaining any type of weight or stress when it is being torqued?
- 4. Know how far your spring needs to travel to complete the task in number 3.
- 5. Know if you need any bends on the legs and what the free angle of the legs are
- 6. Consult a spring engineer you trust to help you achieve all of the steps above including designing your spring as economical and efficient as possible.
For more helpful torsion spring tips visit: Planetspring.com


 English